Electrical switches, like other electrical equipment, can be damaged during use or when used for too long. So what are the common electrical switch errors and how to fix and repair them? Let’s find out with QNT Investment and Trading Services Company Limited in the article below!
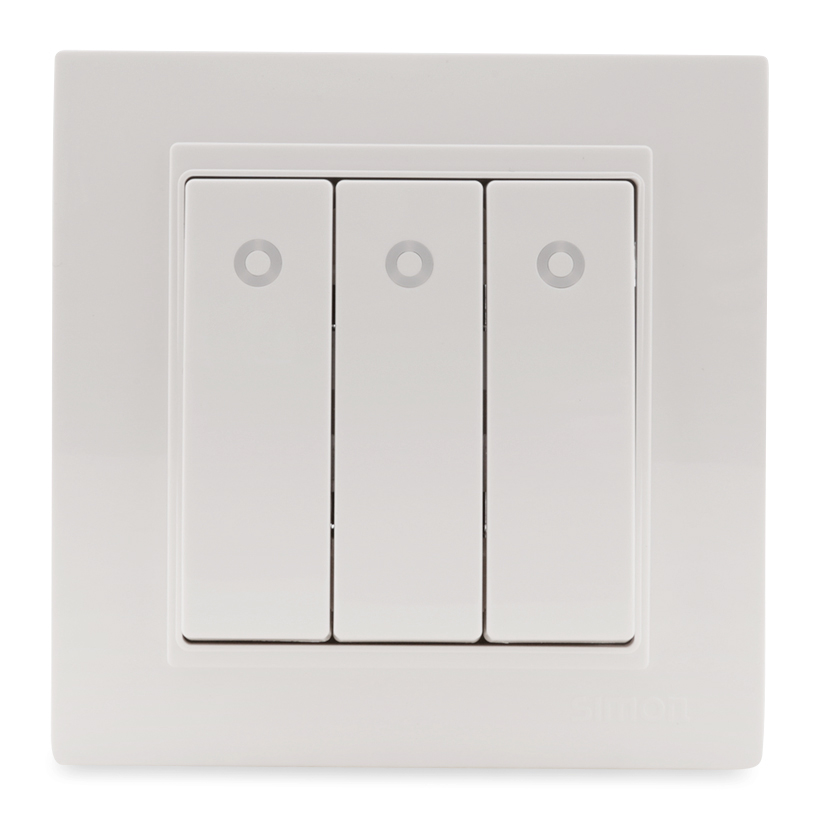
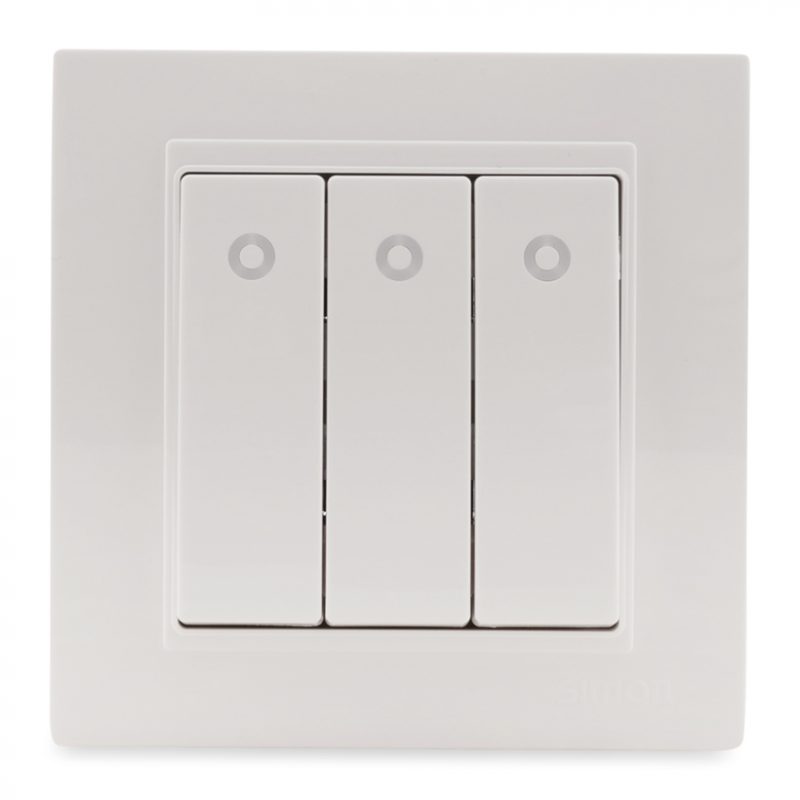
Switch
1. Causes of electrical switch failures
Usually, common electrical switch failures are due to the internal wire connections gradually loosening. In addition, the switch can also be damaged due to some internal parts being corroded.
2. Measures to handle when the electrical switch is damaged
The most effective measure when the electrical switch is damaged is to replace the switch with a new one. However, in some cases, the electrical switch can also be repaired by yourself to save costs for the family.
3. Necessary tools when repairing or replacing the electrical switch
Before repairing and replacing the switch, you need some necessary tools such as: screwdriver, neon light to test the circuit, sandpaper…
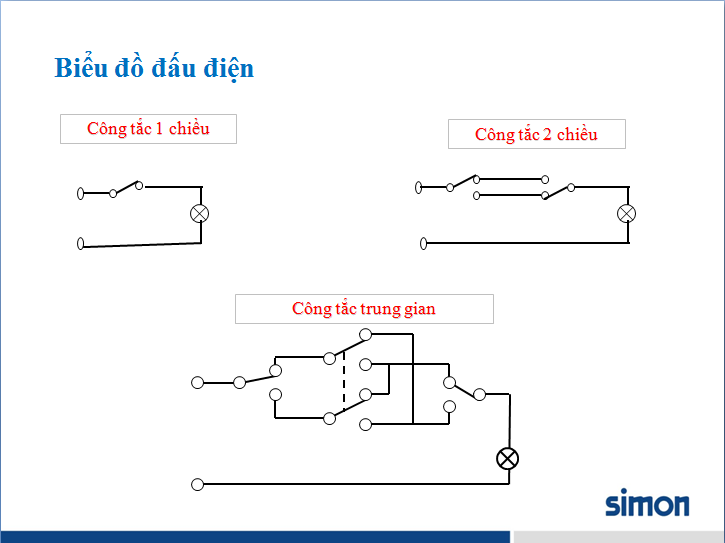
Electrical switch wiring diagram
4. Steps to Repair or Replace a Switch
Repairing a switch involves the following steps:
– Turn off the power to the switch at the main circuit breaker panel (remove the fuse or flip the breaker down), then remove the switch cover.
– Remove the screws holding the switch, grasp it carefully, and slowly pull the switch out of the switch box. Be very careful not to touch any of the bare wires or terminals until the switch has been tested for power.
– Check for power by touching one probe of a neon test light to the grounded metal switch box or to a bare copper wire connected to ground, and touching the other probe to each terminal. The neon light should not light. If it does, there is still power going to the switch box. Go back to the circuit breaker panel and disconnect the correct circuit to your outlet.
– Unplug the wires and remove the switch. Check for continuity in the switch. You can use a battery connected to a small light bulb or a continuity tester. If the switch is faulty, replace it. If the wire ends are too short, you can use a piece of the same type of wire to extend it
– If the wire ends are broken or nicked, cut off the damaged section with wire cutters. Strip the wire to expose about 2 cm of bare wire.
– Clean the bare wire ends with sandpaper if the wire is dirty or dark. If the wire is copper, apply an antioxidant to the wire ends before wiring the switch.
– Connect the wire ends to the screw posts on the switch. Tighten the retaining screws, but not too tightly, as over-tightening may strip the threads of the wire screws.
– Replace the switch, carefully folding the excess wire behind the switch and placing it in the box. Replace the switch cover and turn on the circuit breaker connected to the switch at the main circuit breaker panel.
To repair or replace a 3-position switch, follow these steps:
– Turn off the power to the switch at the main circuit breaker panel, then remove the switch cover and wiring screws. Grasp the switch carefully and pull it out of the box. Be very careful not to touch any of the exposed wires or terminals until the switch has been electrically tested.
– Test the power by touching one probe of a neon test light to the grounded metal switch box or to a bare copper wire connected to ground, and touching the other probe to each terminal. The neon light should not light up. If it does, power is still going to the switch box. Go back to the circuit breaker panel and disconnect the correct circuit to your outlet.
– Locate the dark-colored common terminal, and mark this common wire with a piece of tape. Remove the wires and remove the switch. Check the switch for continuity. If the switch is defective, replace it. Check for frayed or nicked wire ends. If necessary, cut off the damaged wire and strip a new one.
– Connect the common wire to the dark common terminal on the switch. On most 3-position switches, this terminal is copper. Or it will have the word COMMON printed next to it on the back of the switch.
– Connect the remaining wire ends to the silver or brass terminals. These wires are interchangeable, and can be connected to either terminal. Carefully place the excess wire back into the box. Replace the switch and switch cover. Turn on the power at the main circuit breaker panel.
For 4-position switches, follow this procedure:
– Turn off the power to the switch at the main circuit breaker panel, then remove the switch cover and wiring screws. Grasp the switch carefully, and pull it out of the box. Be extremely careful not to touch any of the bare wires or terminals until the switch has been electrically tested.
– Check for power to the switch by touching one probe of a neon test light to a grounded metal switch box or to a grounded bare copper wire, and touching the other probe to each terminal. The neon light should not light. If it does, power is still going to the switch box. Go back to the circuit breaker panel and disconnect the correct circuit to your outlet.
– Remove the wires and inspect them for fraying or nicks. If necessary, cut off the damaged wire and strip the ends of the wire. Check the switch for continuity. If the switch is defective, replace it.
– Connect two matching colored wires to the brass terminals. On the switch as shown, the brass terminals are marked LINE 1.
– Connect the remaining wire ends to the brass terminals, marked LINE 2 on some switches. Carefully place the excess wire back into the box. Replace the switch and switch cover. Turn on the power at the main circuit breaker panel.
Good luck!
Watch more:
How to choose a power outlet? What should you pay attention to when buying a power outlet?
LED Lighting FAQ: Top 10 Frequently Asked Questions About LED Lights
Measures to prevent incidents when using electrical equipment
QNT INVESTMENT AND TRADING SERVICES COMPANY LIMITED
Showroom address: TM07 My Dinh Pearl 1, No. 1 Chau Van Liem Street, Phu Do Ward, Nam Tu Liem District, Hanoi
Hotline: 0977.566.348
QNT is always happy to provide free consultation on lighting equipment.
QNT sincerely thanks and looks forward to working with you!
